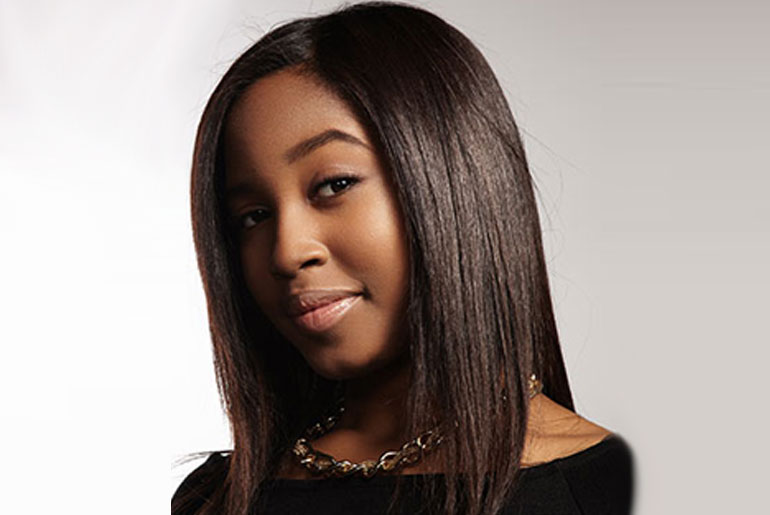
It is understandable that your hair’s new growth is making you consider going natural. It is up to you if this is something you really want to do. But, if you’re still bent on keeping relaxed hair then this post is for you. You can relax your hair at home by yourself or ask a friend/family member to help out. Here’s what you’ll need;
- Relaxer Kit (It is better to buy a kit as it would come with all the necessities like gloves, applicators etc)
- Combs – Wide-toothed & Rattail
- Shampoo & Conditioner (These might come in the relaxer kit, but you should have these handy just in case)
- Hair oil or balm (Essential for basing the scalp and the edges to keep it from burning from the relaxer’s heat)
- Lukewarm water (Not too hot or cold to help calm the heat from the relaxer)
- Blow Dryer
Bear these key tips in mind before relaxing your hair:
- You need to work in sections. This isn’t only great for managing the relaxing process, it also helps you reduce burning by relaxing the most resistant parts first and the most sensitive last.
- Start at the crown of the head. It has the most resistant skin and works your way to the outer edges.
- Relax the edges last. The skin here is very sensitive and would require the least amount of time with the relaxer on.
- Try your best not to put the relaxer on the scalp. Start the application at the beginning of the new growth and work your way upwards. This helps reduce the chances of burning the scalp.
- Only relax the new growth. Your old growth is already relaxed and doesn’t need the relaxer. Only apply to the parts of the hair that are ‘due’ for a relaxer i.e new growth.


