

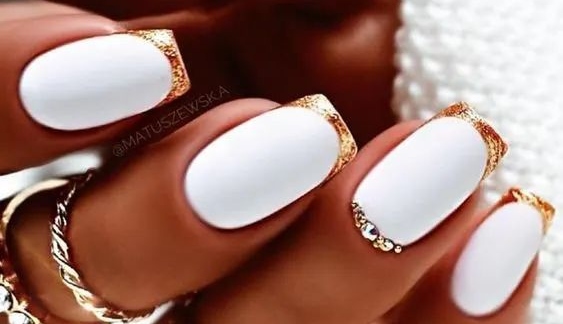
Wedding preparations can be expensive. From the dress and shoes to hair, makeup and accessories, the bills keep adding up. But what about your nails? You can still have beautiful bridal nails without spending a fortune at the salon.
If you enjoy doing your nails at home, or you want to save some money before your big day, DIY wedding nail art is a lovely idea. All you need are a few nail essentials, a little patience and a design you love.
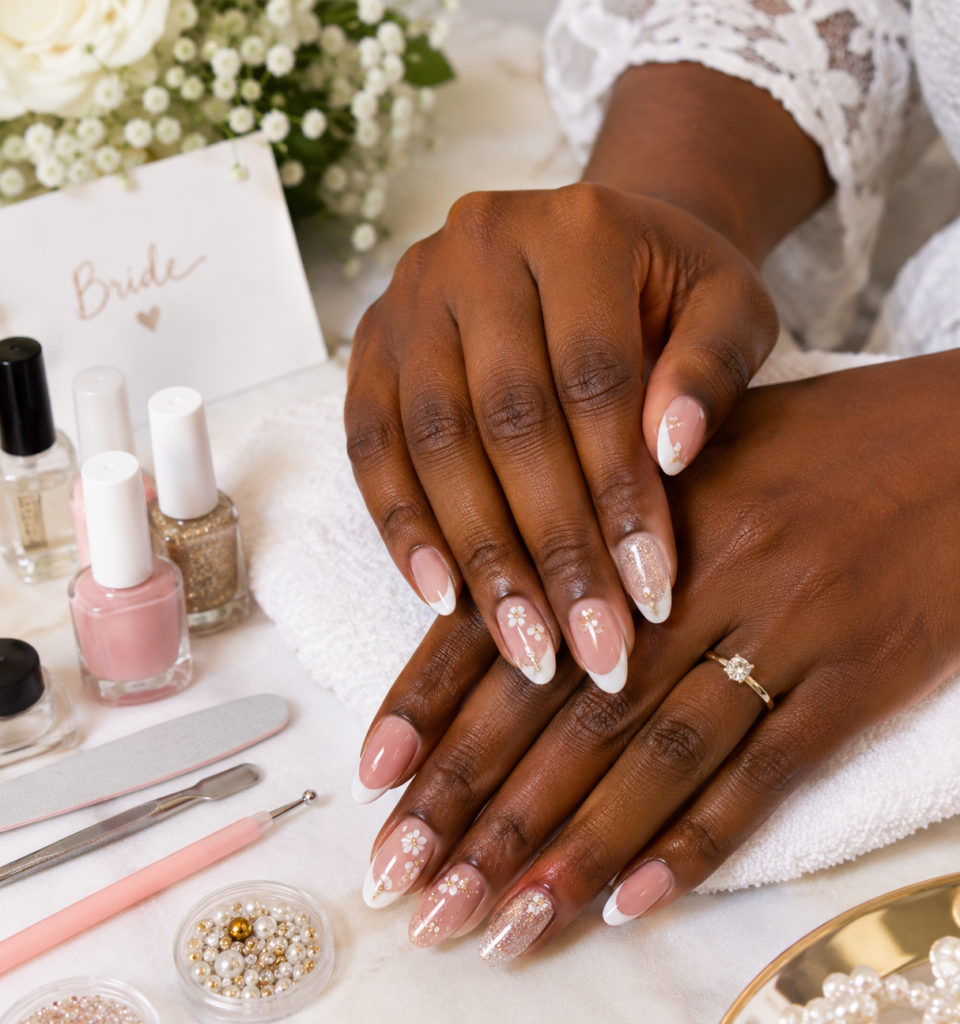
Nail designs to try before your wedding:
French Tips
You can never go wrong with French tips. The white edges and nude or pink base give your nails a neat, classic look that works beautifully with almost any wedding dress. If you struggle to get the tips even, nail guides can help.
Nude and Pink Nails
Not every bride wants elaborate nail art. Sometimes, a simple nude, cream or soft pink polish is all you need. These colours look beautiful on their own and will not compete with your dress, jewellery or bouquet.
A Touch of Glitter
If you want something with a little sparkle, try glitter polish on one or two nails. Gold and champagne shades are lovely choices, especially if you are wearing gold jewellery. Just keep the glitter subtle if you prefer a simple look.
Floral Nail Art
Flowers are a natural choice for a wedding. You can use a thin brush or a dotting tool to create tiny flowers on a pale pink or nude base. If freehand painting is not your strength, floral nail stickers will do the job.
Pearl Details
Small pearls can give your manicure a bridal feel without much effort. Apply a few to one or two nails using suitable nail adhesive. You do not need to decorate every finger to make the design stand out.
How to Do Your Wedding Nails at Home
First, gather your nail file, nail polish remover, base coat, nail polish, top coat and any decorations you plan to use.
Start by cleaning your nails and filing them into your preferred shape. Apply a base coat, followed by two thin layers of your chosen polish. Allow each layer to dry before adding the next.
Once the colour is dry, add your chosen design. You can use a fine brush for lines, a dotting tool for flowers or nail stickers if you want something easier. Finish with a top coat to protect the design and give your nails a glossy appearance.
Do not forget your hands. A little hand cream and cuticle oil can help keep the skin around your nails looking neat and moisturised.
When should you do your nails?
Please don’t wait until the morning of your wedding to try a new design. Practise a week or two beforehand so you can decide what suits you best.
For a regular polish manicure, doing your nails one or two days before the wedding can help you avoid last-minute stress. Give the polish enough time to dry properly, and be careful when handling clothes, bags and other items.
If you prefer press-on nails, test the fit and adhesive before the wedding day. This will help you avoid surprises when you are getting dressed.
A few things to remember
Keep your nail design comfortable and practical, especially if you are not used to wearing long nails. You will be holding your bouquet, exchanging rings, greeting guests and posing for photographs, so choose a length that allows you to move around comfortably.
Also, avoid cutting your cuticles or peeling off gel polish, as both can damage the skin or natural nails.
Your wedding manicure does not have to be expensive to look good. A neat French tip, a soft pink polish or a few delicate pearls can be just as beautiful as an elaborate salon design.
The goal is to find a look you love, have fun creating it and feel good every time you look down at your hands on your special day.